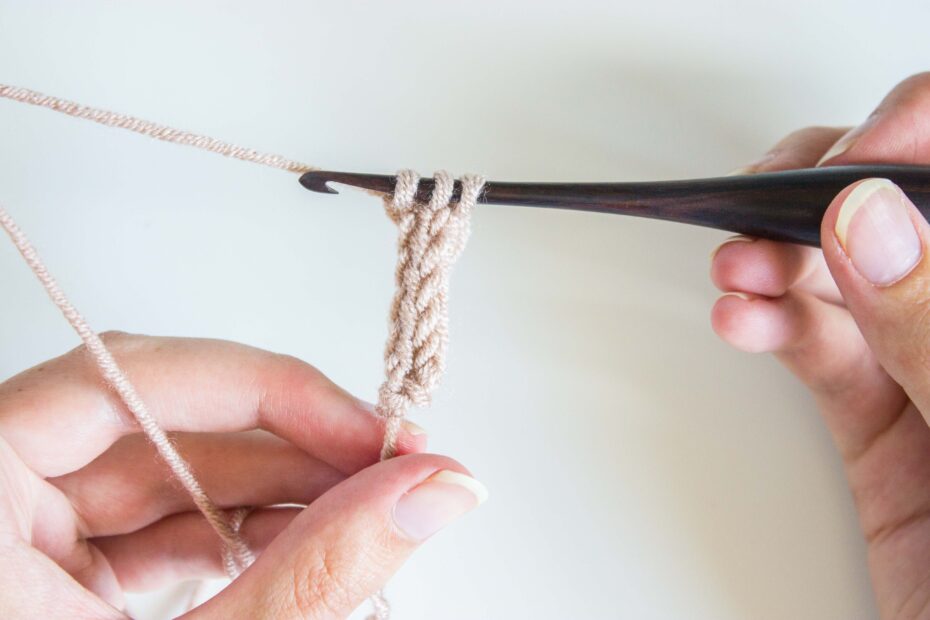
Ideal for belts, ties and handles, the crochet i-cord is a great technique to master. Although it looks fiddly at first, once you get into a rhythm it’s actually really easy to do. Find out how with this simple photo and video tutorial (scroll down for video).
The yarn weight will affect the thickness of your i-cord as well as the number of starting chains. The most common I’ve found is the 3-ch i-cord and this is the one I use in some of my designs too.
Here is the instruction written out in full:
3 ch i-cord: 3 ch, insert hook in 2nd ch from hook, yarn round hook and pull up a loop, (2 loops on hook) insert hook in 3rd ch from hook, yarn round hook and pull up a loop (3 loops on hook), * remove hook from last two loops and pinch together to hold the loops in place in your opposite hand, yarn round hook and pull up a loop, (1 loop on hook), re-insert hook in 2nd loop, yarn round hook and pull up a loop, (2 loops on hook), re-insert hook in 3rd loop, yarn round hook and pull up a loop (3 loops on hook); rep from * to desired length, yarn round hook and pull through all 3 loops. Fasten off.
Now, let’s break it down.
Crochet i-cord step-by-step:
- Chain 3:
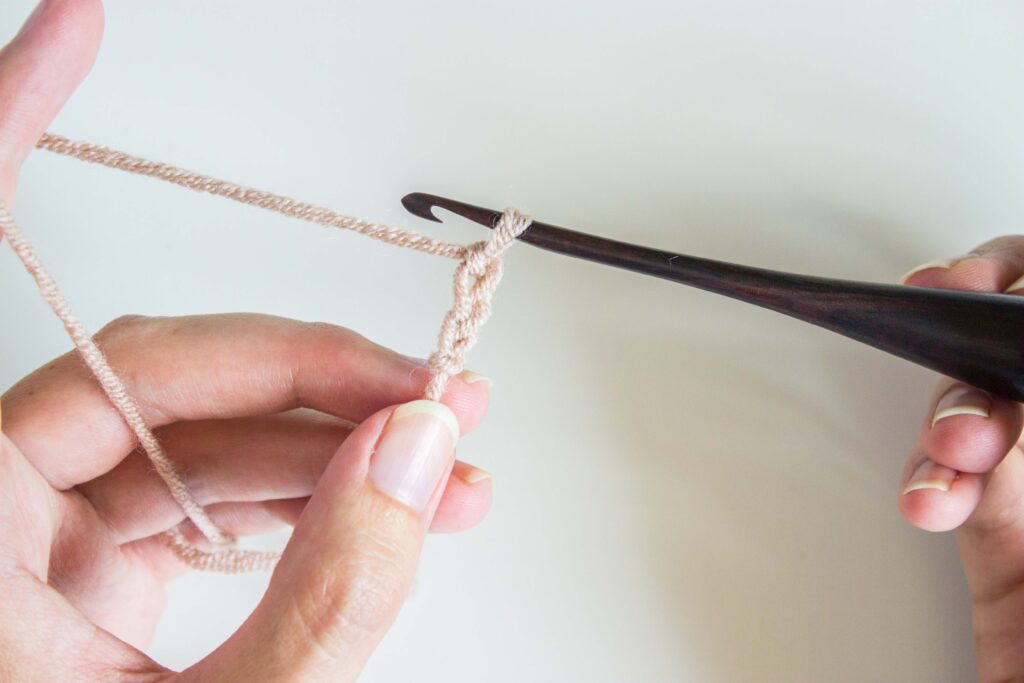
2. Insert hook in 2nd ch from hook, yarn round hook:
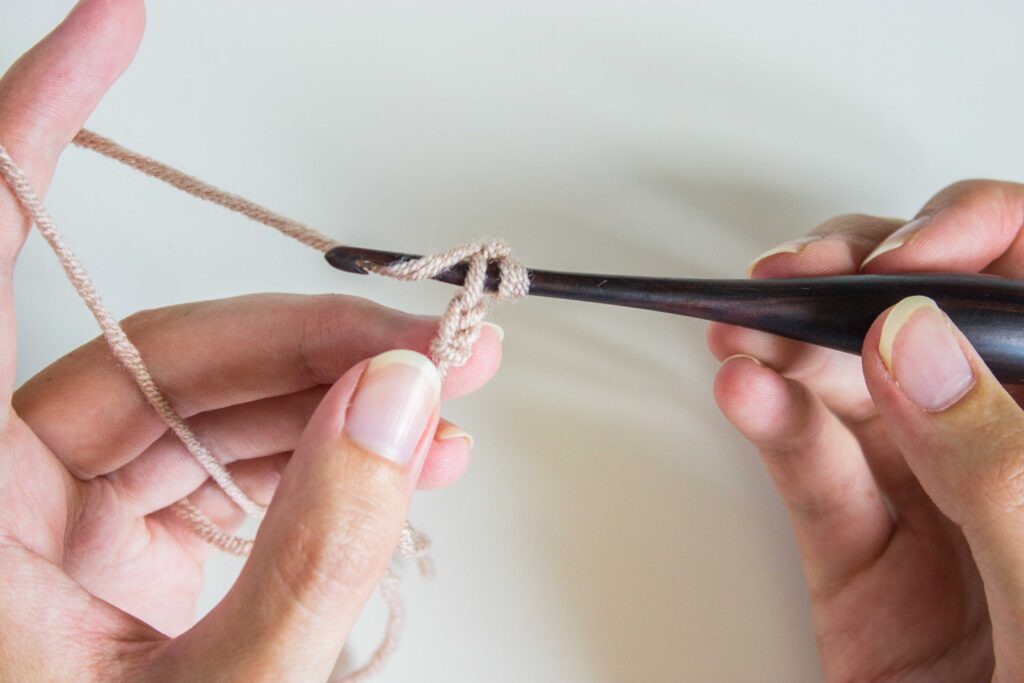
3. Pull up a loop (2 loops on hook):
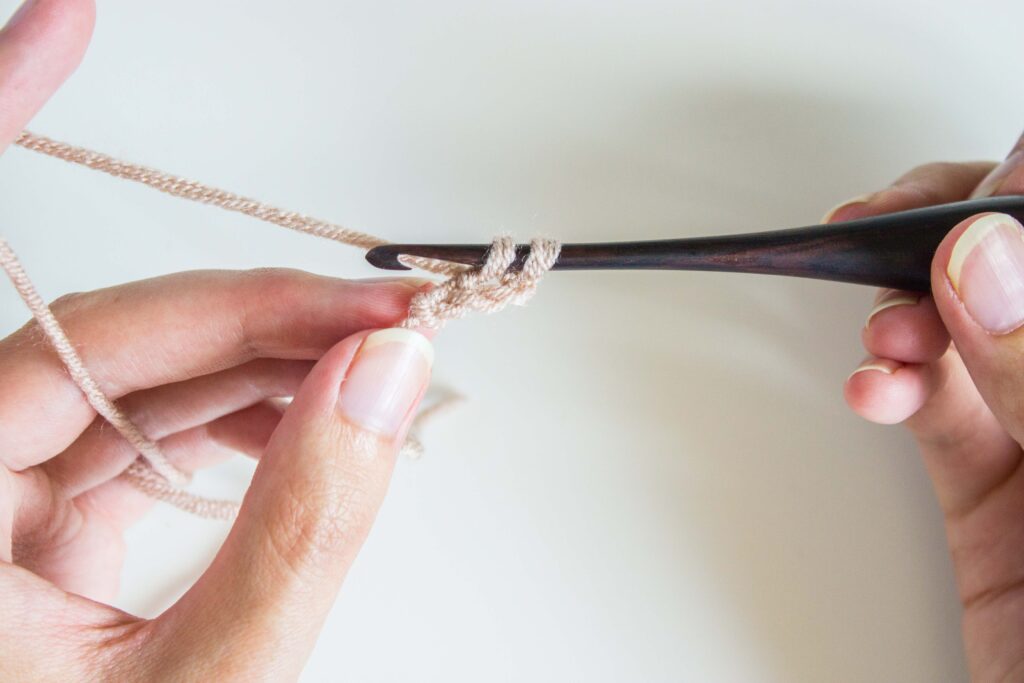
4. Insert hook in 3rd ch from hook, yarn round hook:
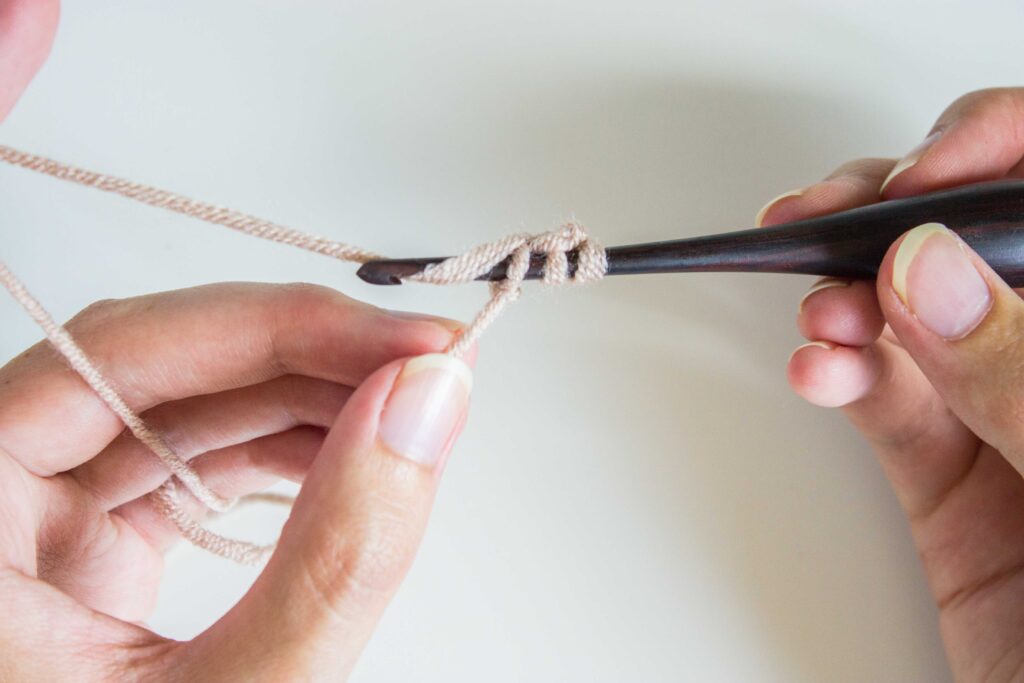
5. Yarn round hook and pull up a loop (3 loops on hook):
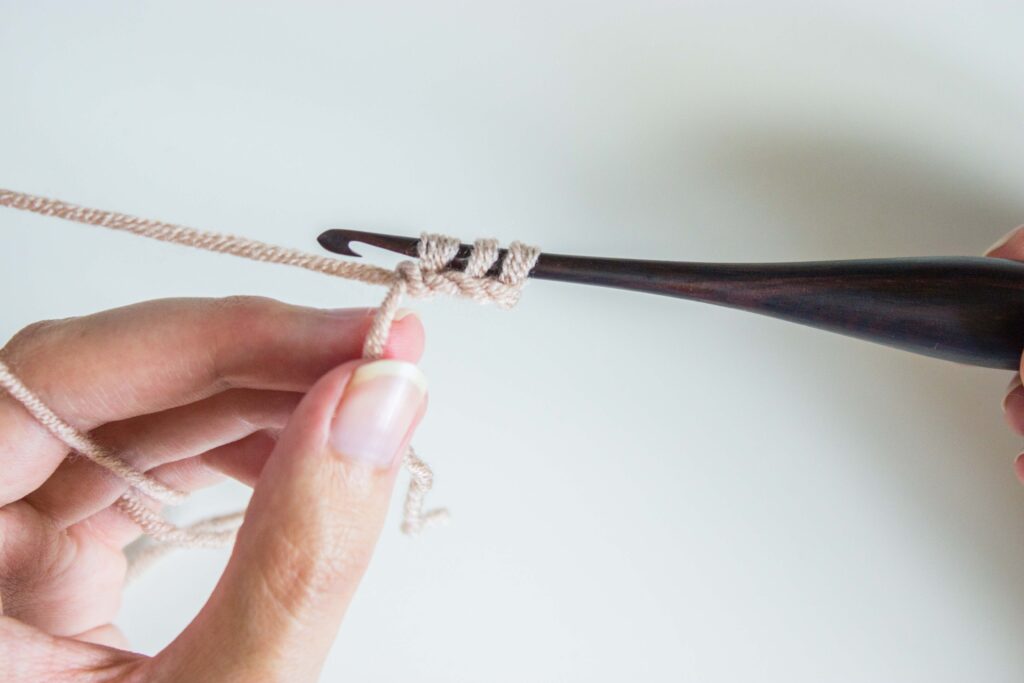
6. Remove hook from last two loops and pinch together to hold the loops in place in your opposite hand, yarn round hook.
It’s difficult to see in the photo, but the last two loops are between my thumb and forefinger.:
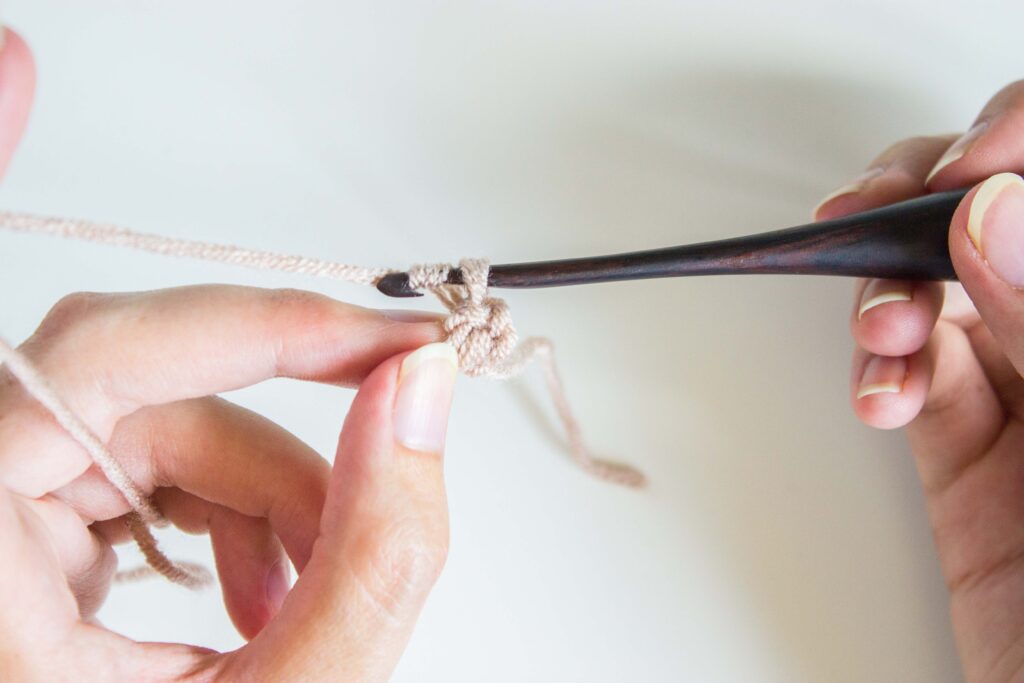
7. Pull up a loop, (1 loop on hook):
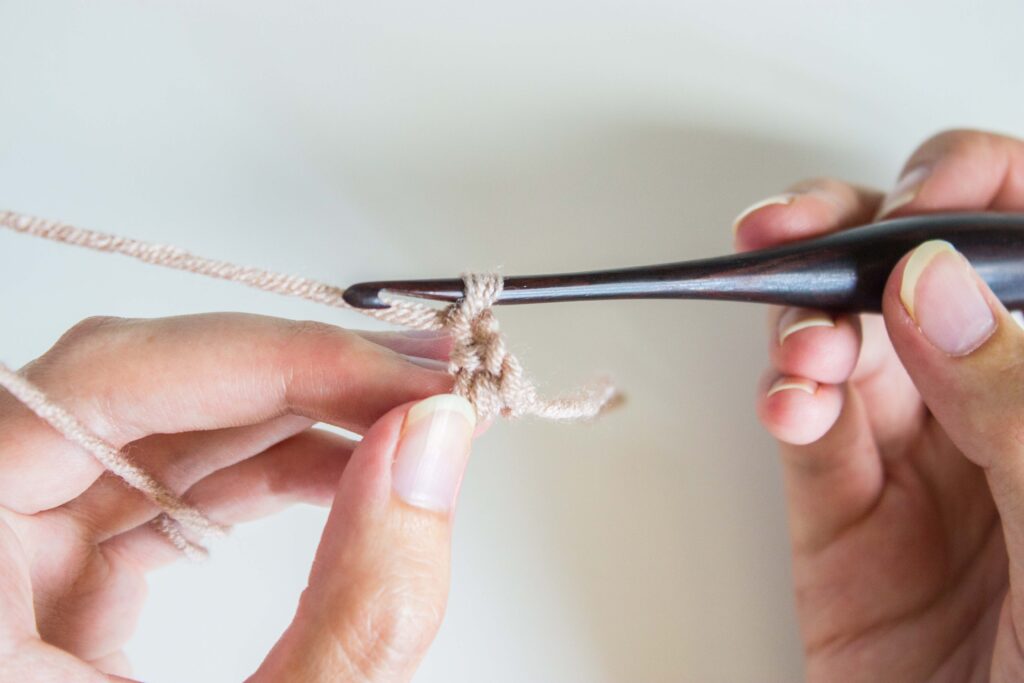
8. Re-insert hook in 2nd loop, yarn round hook:
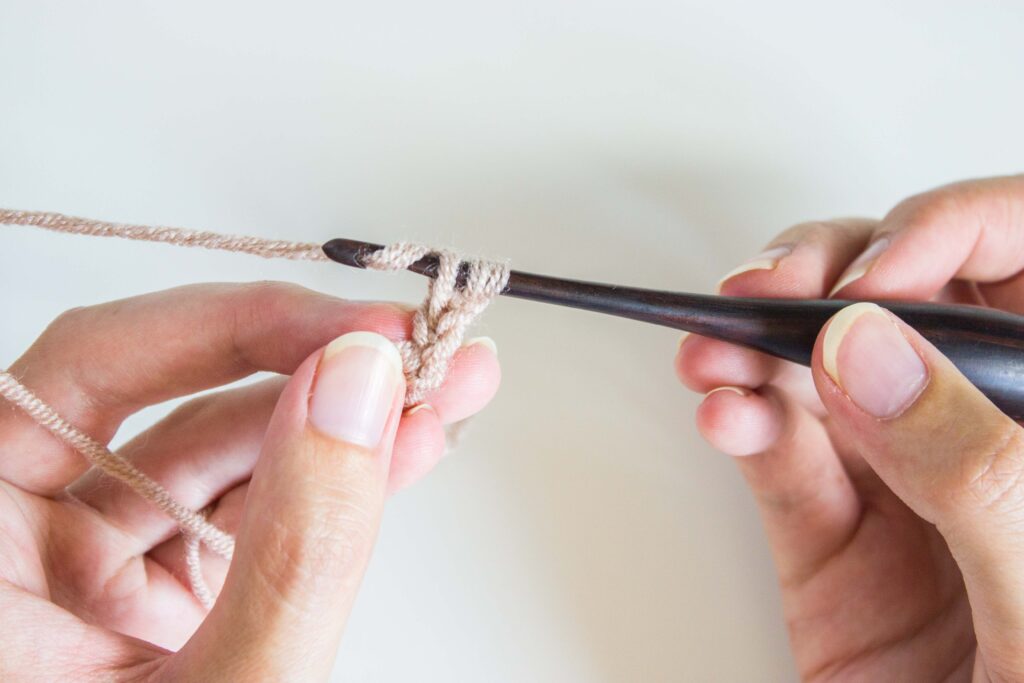
9. Pull up a loop, (2 loops on hook):
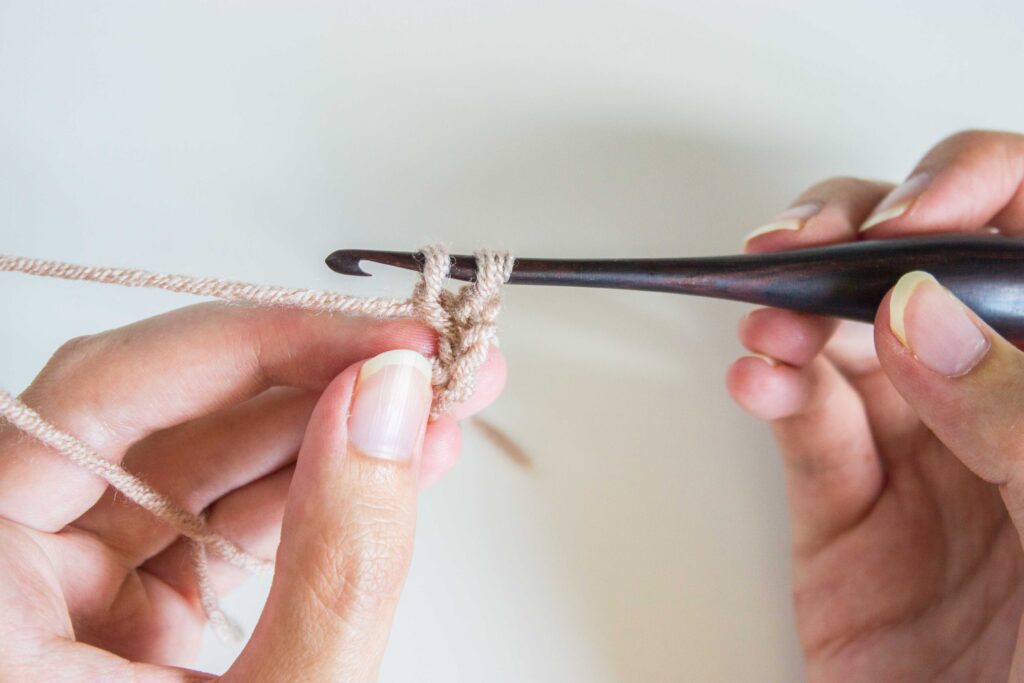
10. Re-insert hook in 3rd loop, yarn round hook:
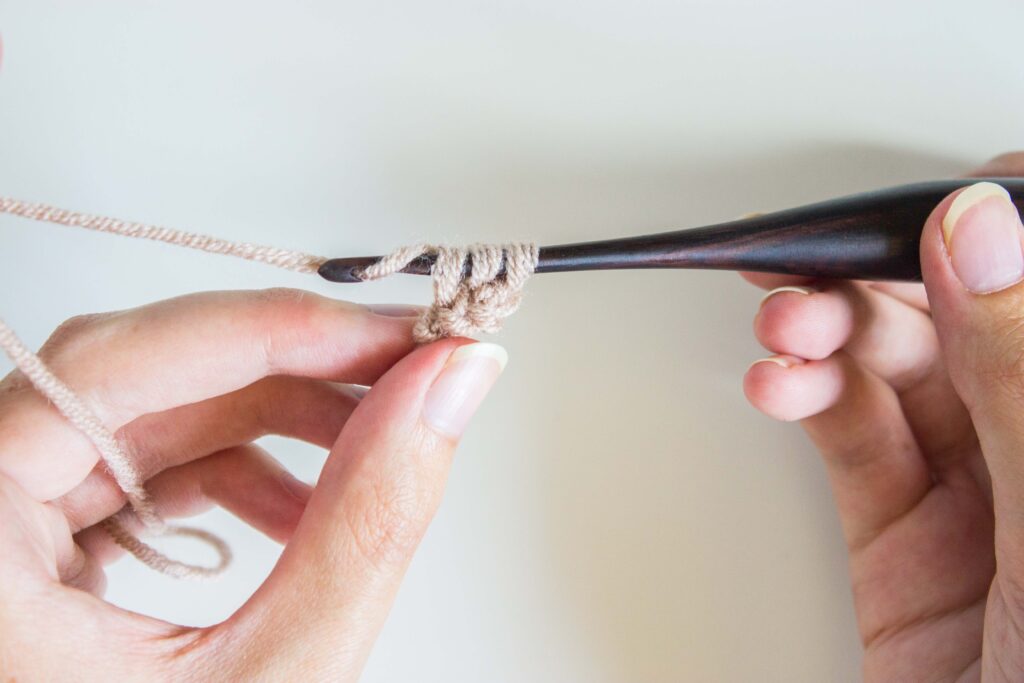
11. Pull up a loop (3 loops on hook):
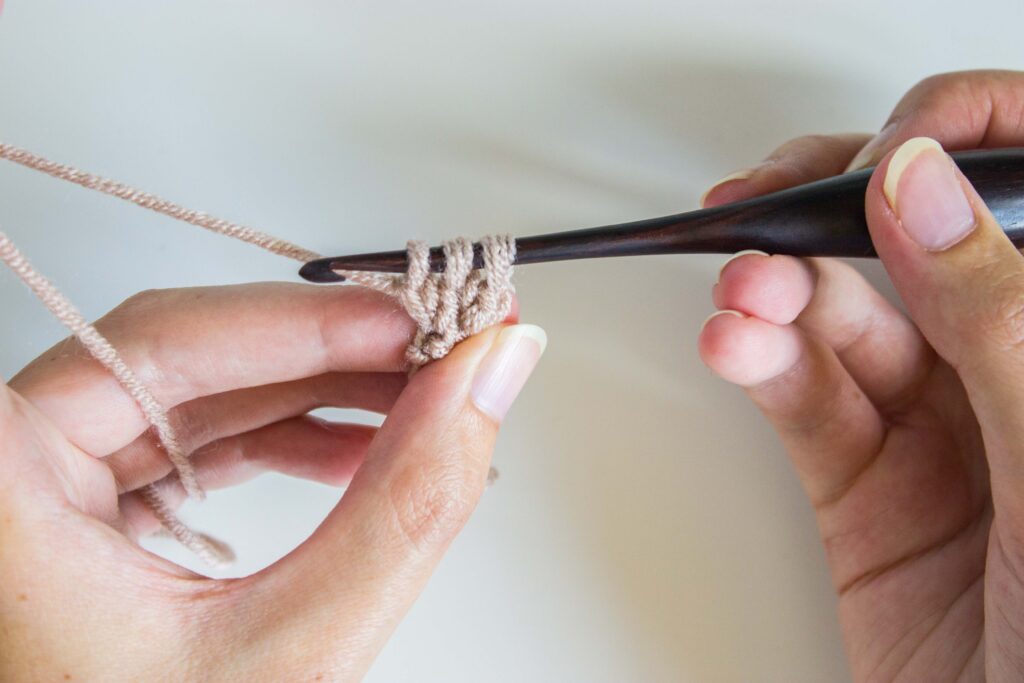
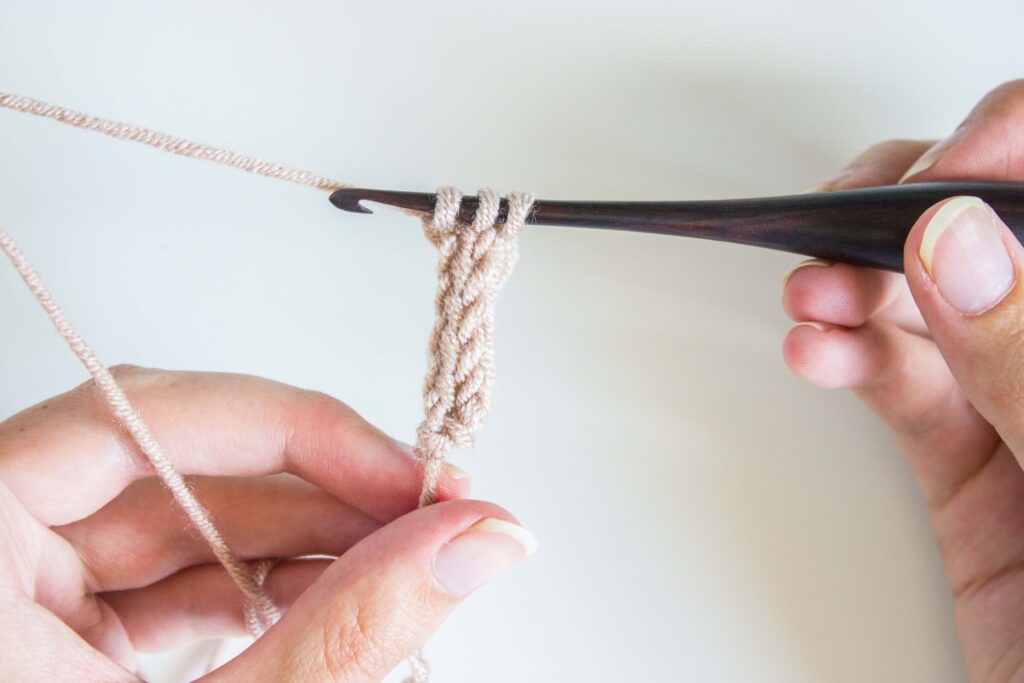
12. Repeat steps 6-12 until you reach your desired i-cord length. After a few repeats you will see the cord start to emerge:
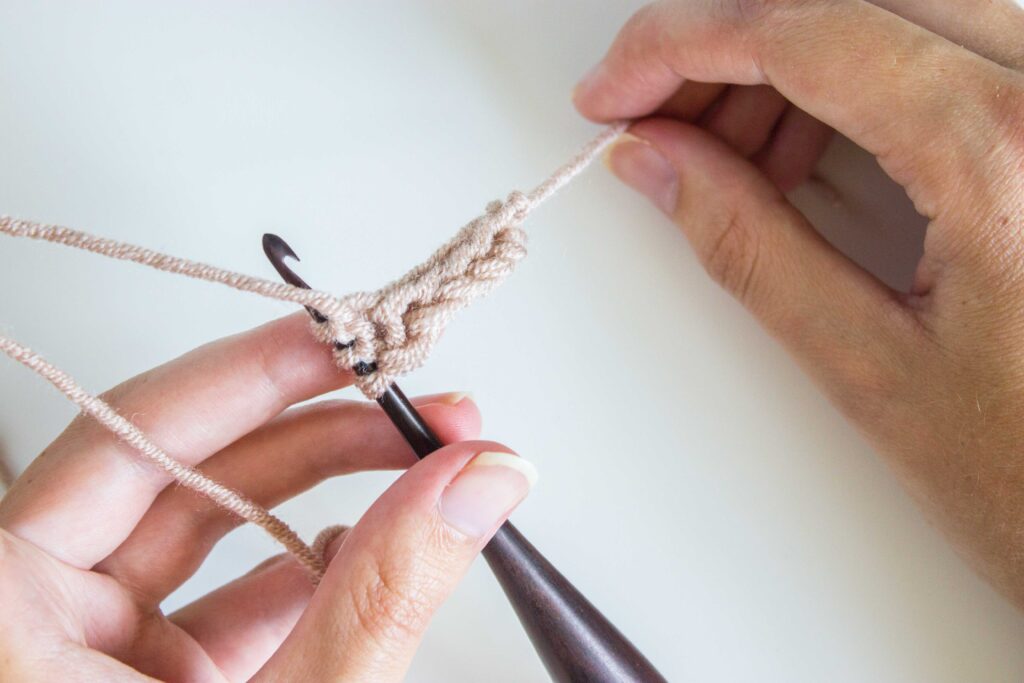
Here’s what it looks like from the back too:
13. When you want to fasten off simply wrap your yarn round your hook and pull it through all three loops. Then cut and fasten off as usual.
You can also watch my crochet i-cord video tutorial here:
I hope that helps you to create your own i-cord! I’d love to know what you’re using it for – let me know in the comments.
Happy crocheting!

