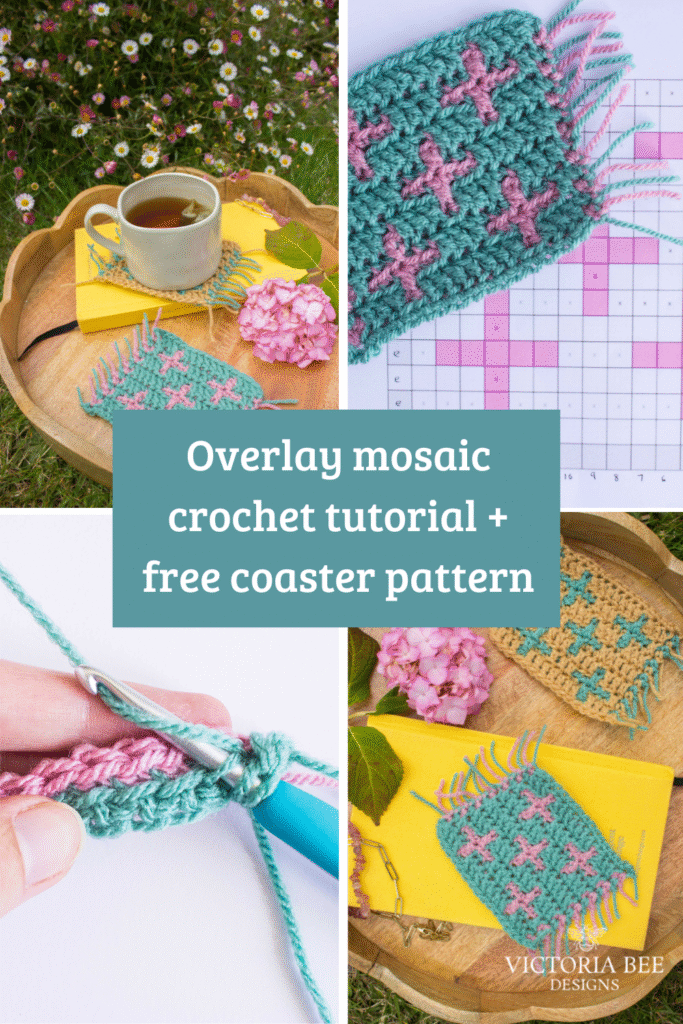
What is overlay mosaic crochet?
Overlay mosaic crochet is a colourwork technique for creating geometric or pictorial designs in crochet. In overlay mosaic crochet you will work from right to left, usually following a chart, with the design on the front side only. (For left handed crocheters it is from left to right.) You will alternate between two colours, A and B. As you work the design will appear on the front with stripes on the back of the work.
Is overlay mosaic crochet easy to learn?
Mosaic crochet is easy to learn as it relies on only one colour per row (no need for fiddly bobbins like with tapestry crochet!) and intricate designs can be created using just two basic stitches. The main stitches you’ll need to know are double crochet (dc), treble crochet (tr) and chain stitches (ch), (this tutorial uses UK terms), or single crochet (sc), double crochet (dc) and chain stitches (ch) (in US terms). More complex designs can sometimes include bobbles and increases/decreases.
The design or pattern is created by alternating rows and dc and tr stitches. All dc stitches are worked into the back loop of the row underneath. While all tr stitches are worked into the front loops of the previous row of the same colour. So the tr stitches cover up the dc stitches from the previous row to create the desired pattern.

It’s really addictive watching how the design and pattern emerges with each new row, definitely one of those ‘just one more row’ techniques that make it impossible to put down!
How do I read an overlay mosaic crochet chart?
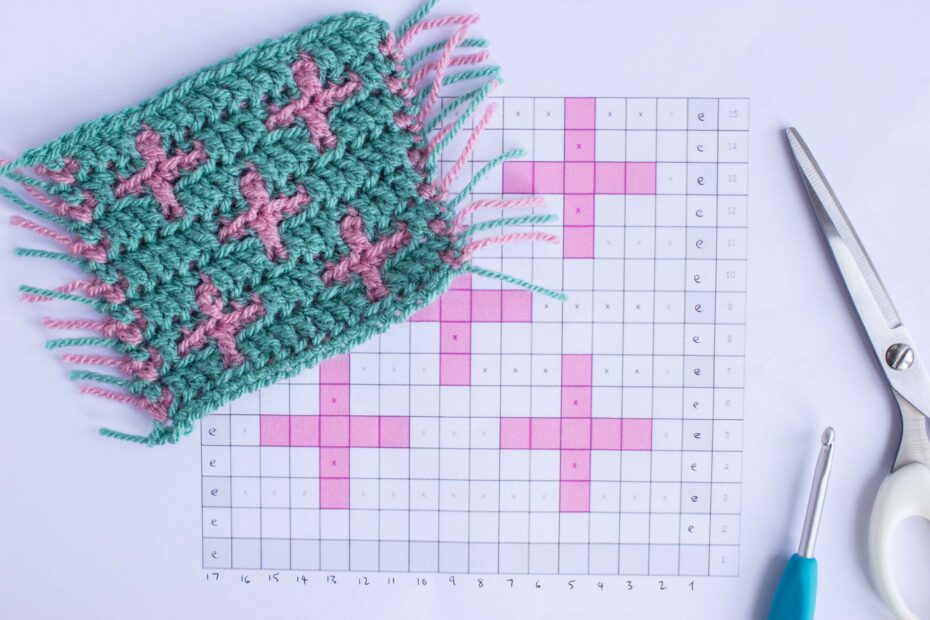
To read an overlay mosaic crochet chart, you start from the bottom right and work up. Each row starts on the right and ends on the left and you use a single colour for each row. Where there is an ‘X’ on the chart this symbolises a tr stitch into the previous row of the same colour. The blank squares show where dc stitches into the back loop of the row underneath are worked. The ‘e’ stitches at the ends of each row are for edge stitches, which are explained below.
In the chart for this mosaic crochet coaster tutorial you can see the numbers for the rows starting at the bottom right corner.
How to start an overlay mosaic crochet pattern
In most overlay mosaic crochet patterns you generally need to set up two foundation rows before starting the design properly on row 3. The foundation rows are two dc rows, one in each colour A and B and with colour B in row 2 worked into the back loops only.
I generally use a – foundation double crochet (fdc) row (tutorial here) for row 1 to save fiddly crochet into a row of chains, but you can do whichever you prefer.
In this example, row 1, colour A is in the turquoise colour and row 2 colour B is pink.
Overlay crochet mosaic coaster full video tutorial
Watch the full video tutorial here or see the detailed written and photo instructions below.
Overlay crochet mosaic coaster – free pattern and how to do foundation rows and edge stitches
For this pattern I’ve used DK weight yarn in 2 colours and a 4.5mm crochet hook.
The pattern uses UK terms.
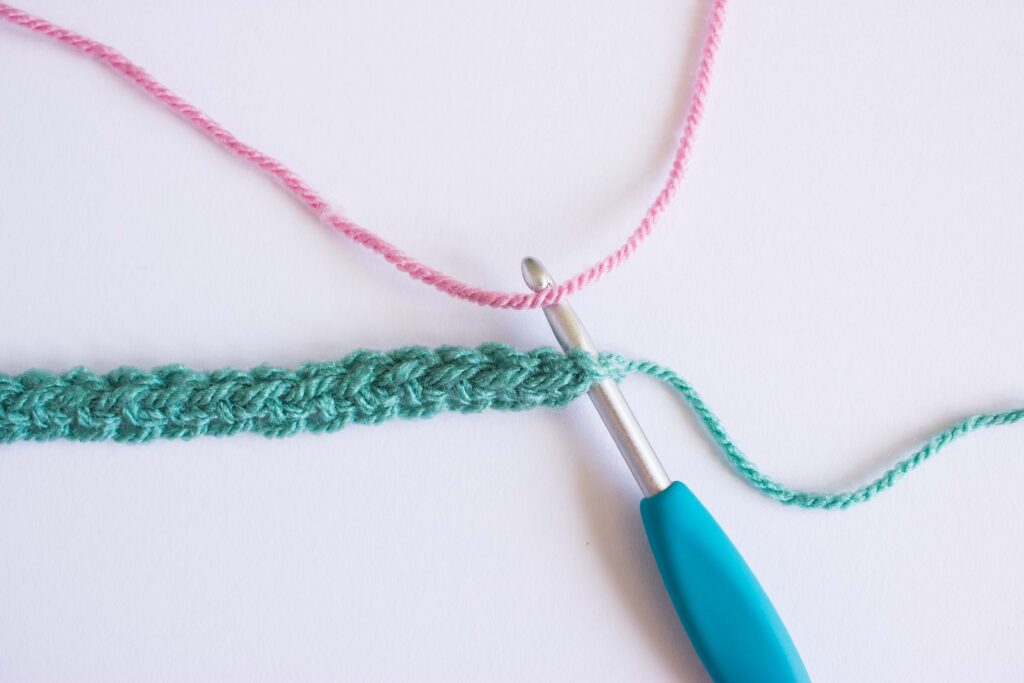
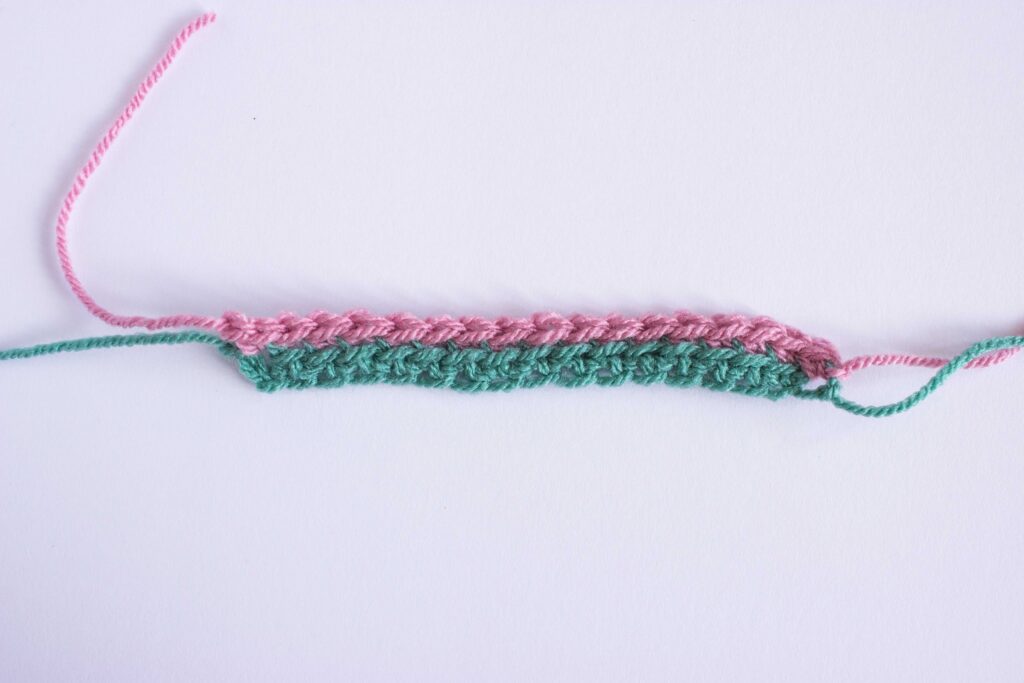
Row 1 (foundation row): With yarn A. Fdc 17 stitches, ch 1. Cut yarn and fasten off. (17 sts) (click here for an fdc tutorial).
The ch 1 at the end of the row helps to secure your yarn for when the row above is worked into the last stitch, the full first end edge stitch is worked at the end of row 2.
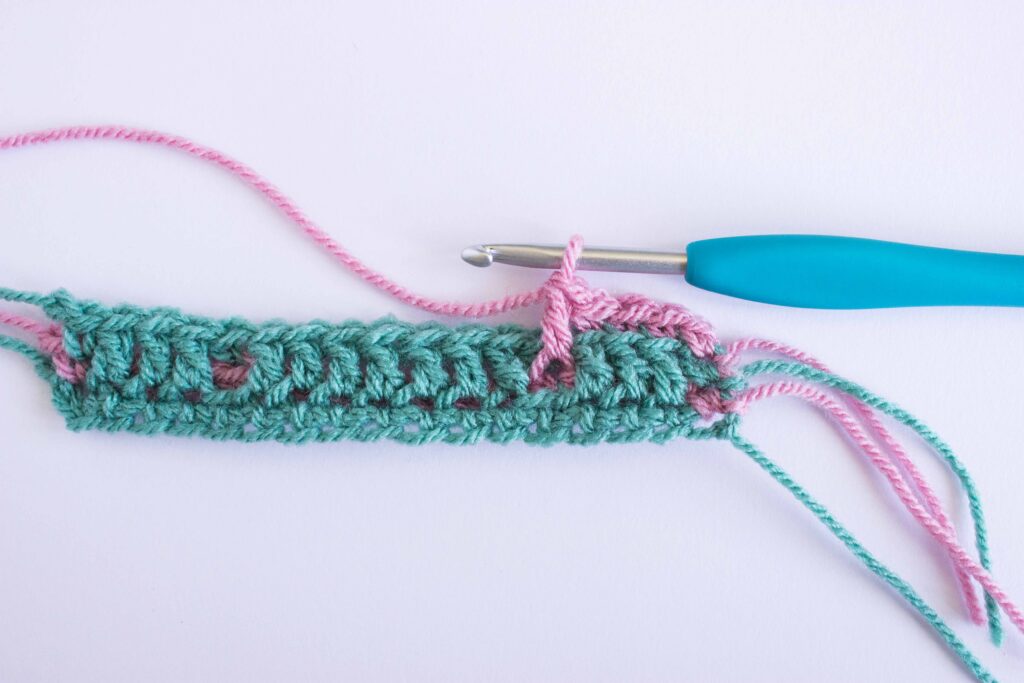
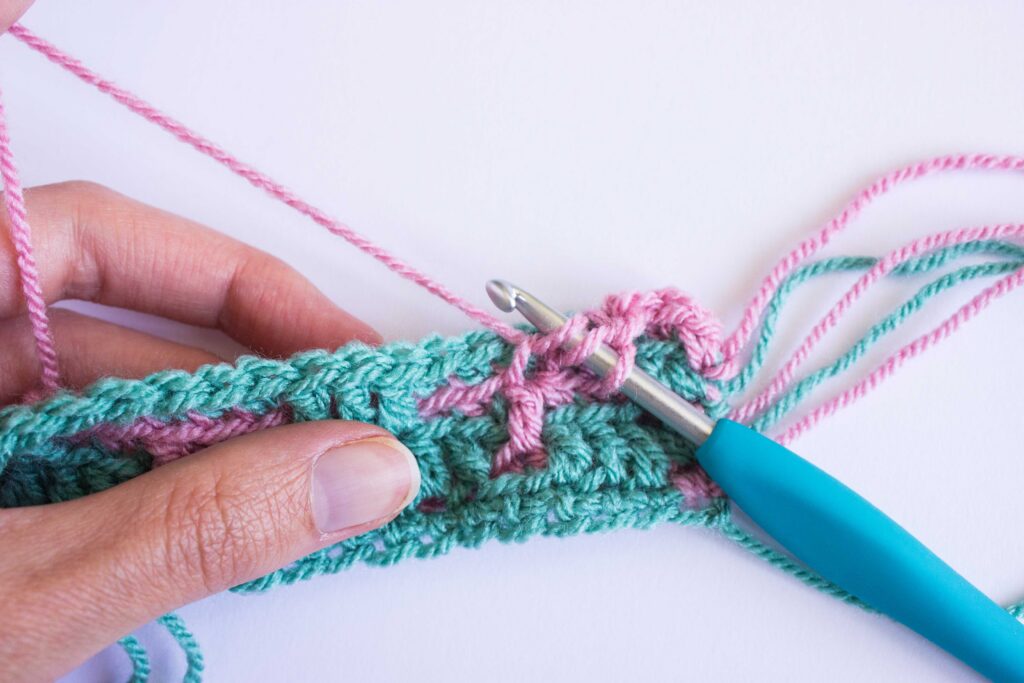
Row 2 (foundation row and first edge stitch). With yarn B. To start this row with an edge stitch, which you will use for the start of all rows – pull a loop of yarn through both loops of the first stitch from row 1 (if you’ve used a fdc chain it’s usually a slightly odd stitch but works fine):
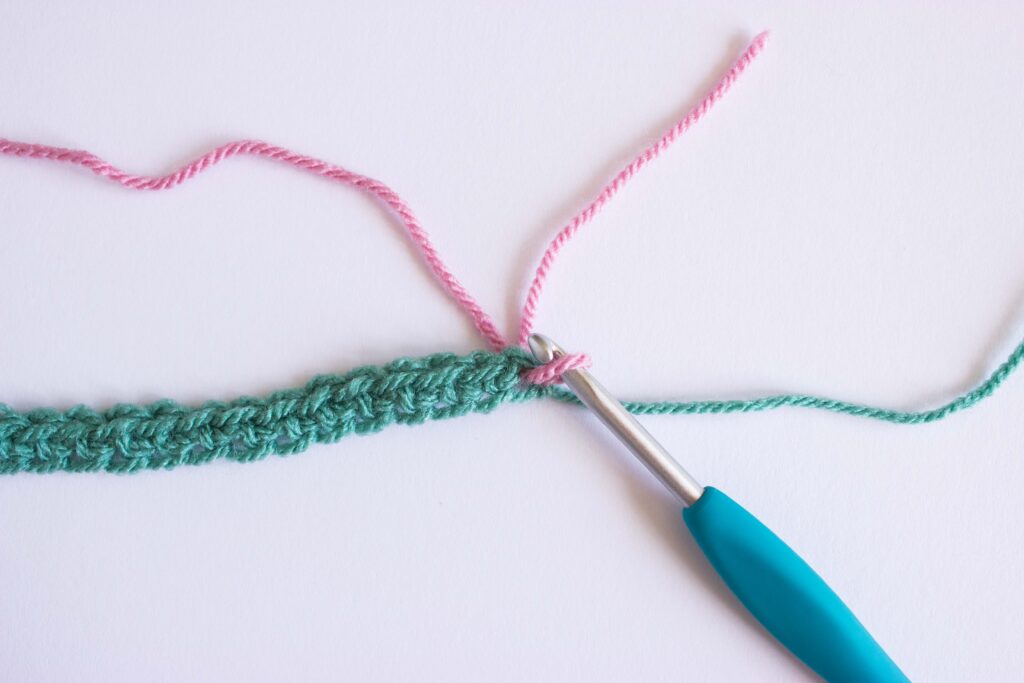
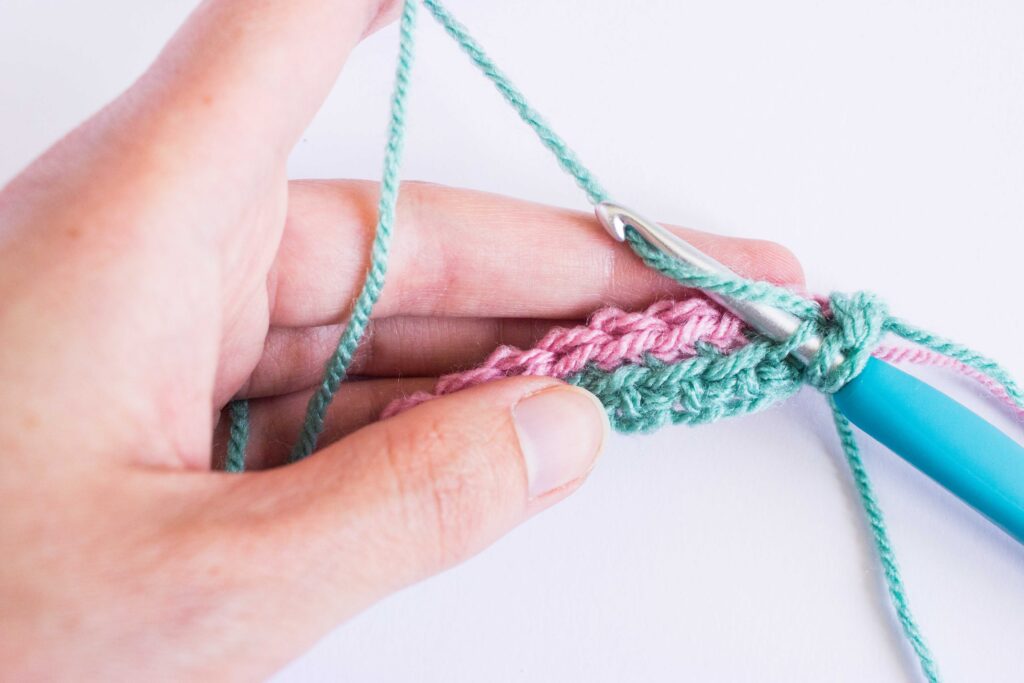
Then yarn over hook on the tail end of the yarn and pull it back through the loop on your hook, essentially making a chain stitch with the tail Don’t tighten:
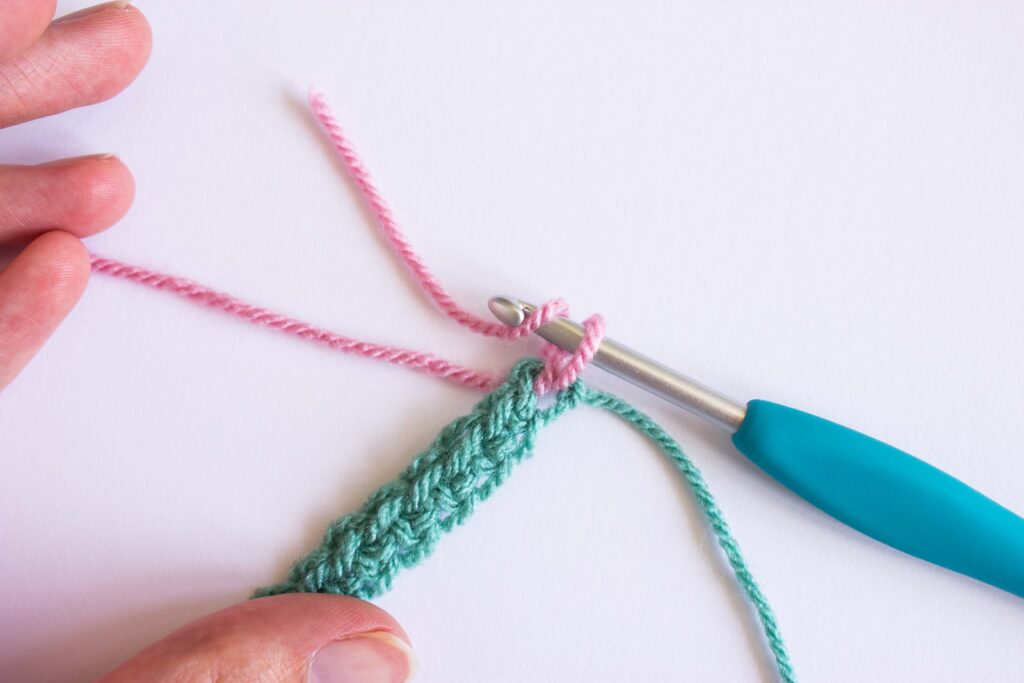
Insert your hook back into the front of the loop (see the arrow below):
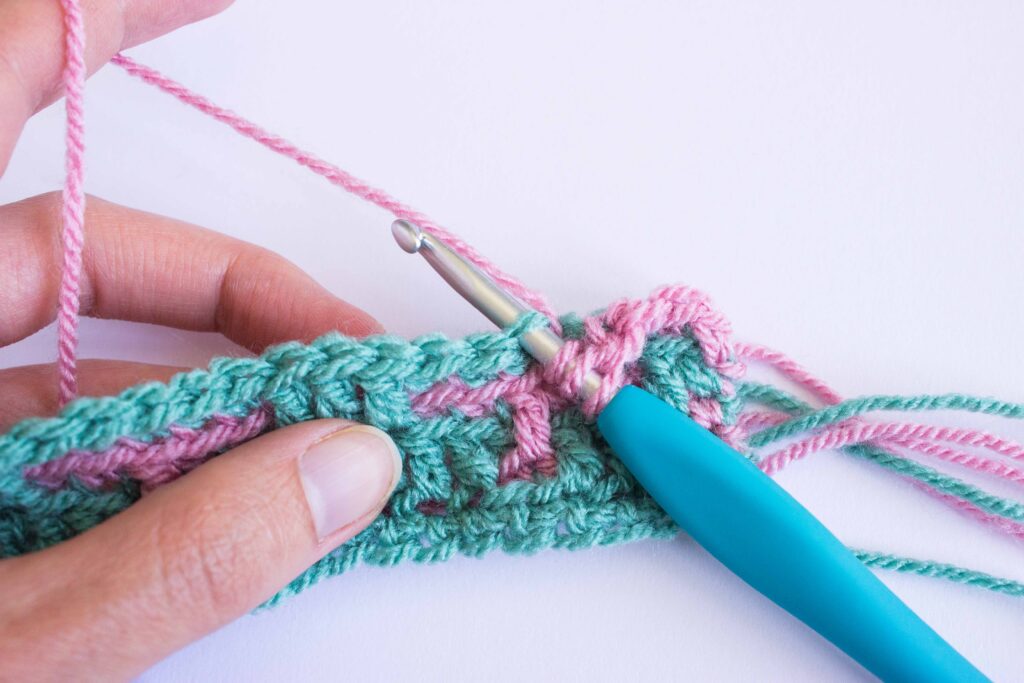
Then chain 1 and dc under both loops into the same stitch:


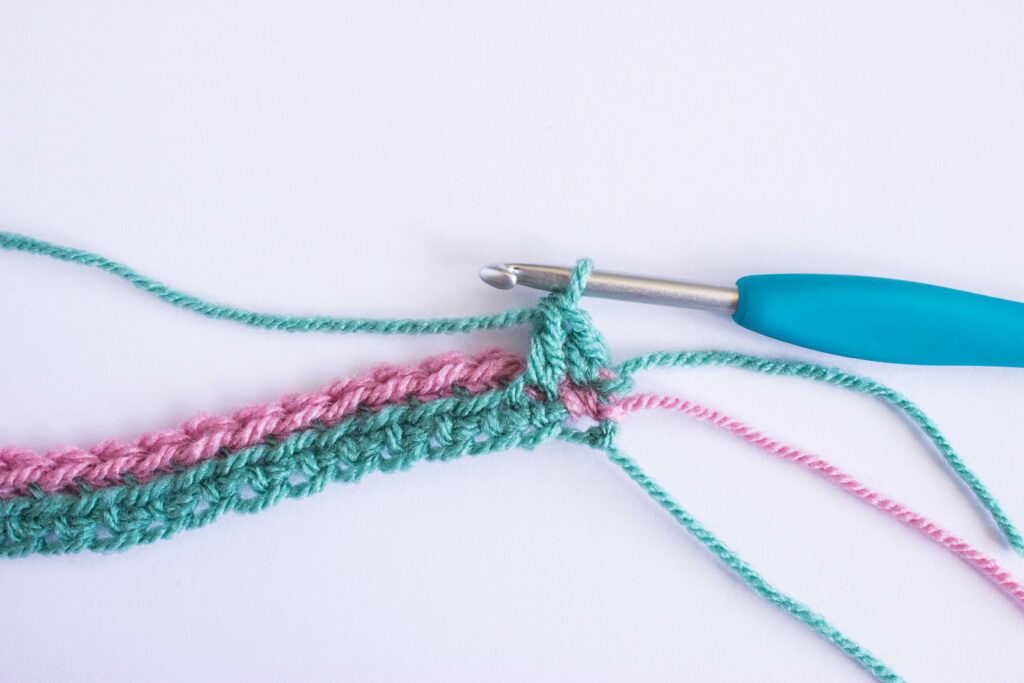
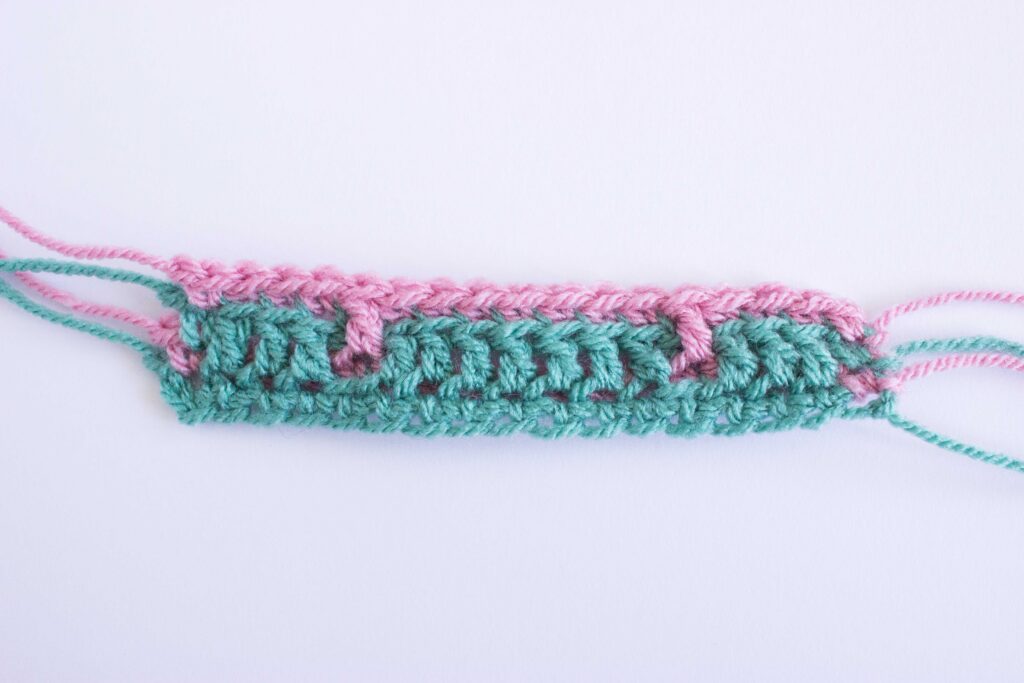
The edge stitch counts as your first dc, for the rest of row 2, dc into the back loop of all remaining stitches. At the end of the row add an end edge stitch. (17 sts)
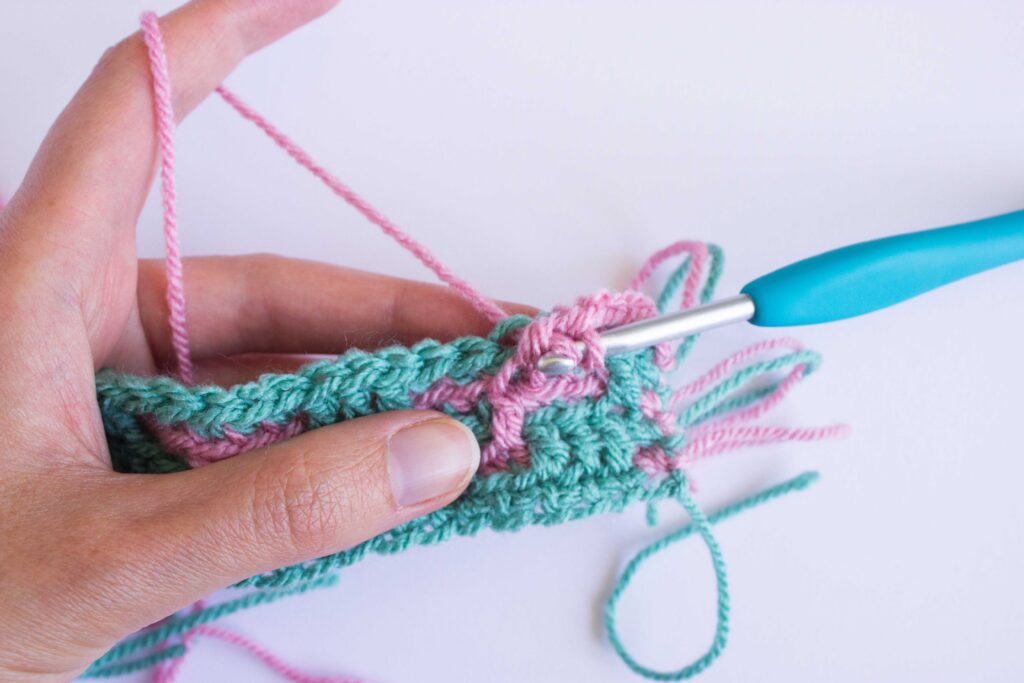
To do the end edge stitch. Dc into both loops of the last stitch, then ch 1.
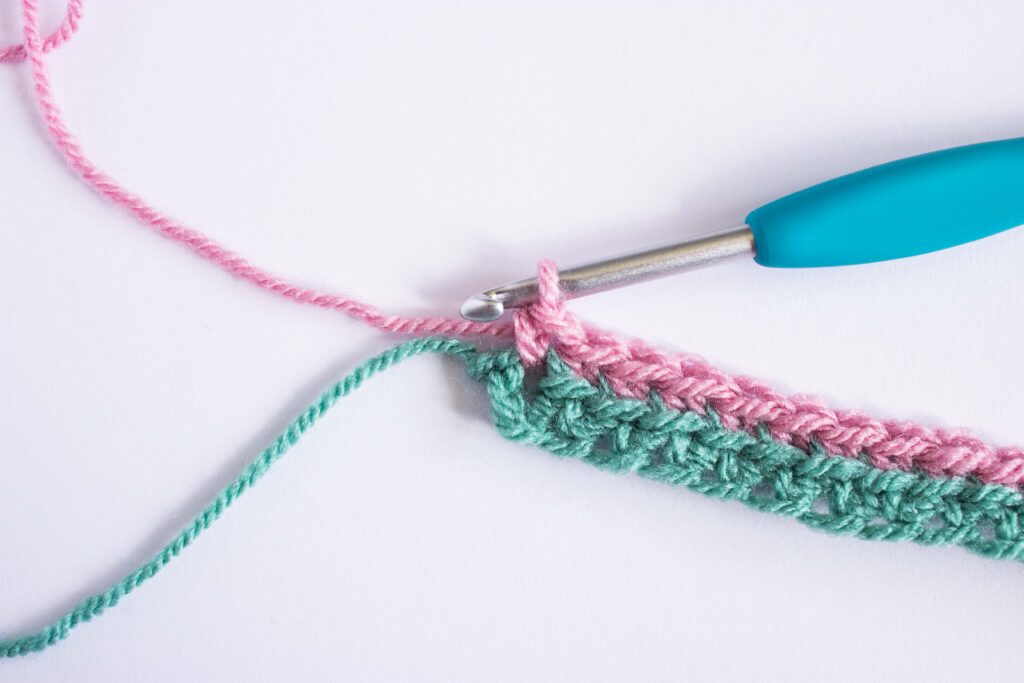
Cut yarn leaving roughly a 10cm tail and pull through to secure.
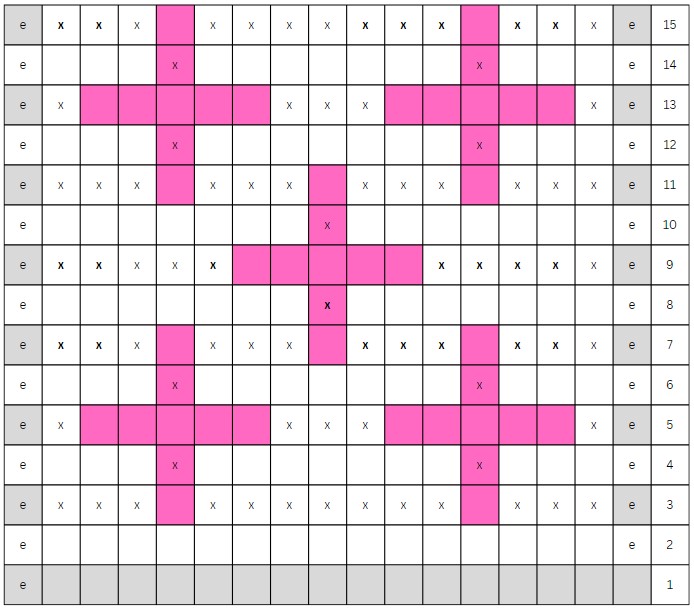
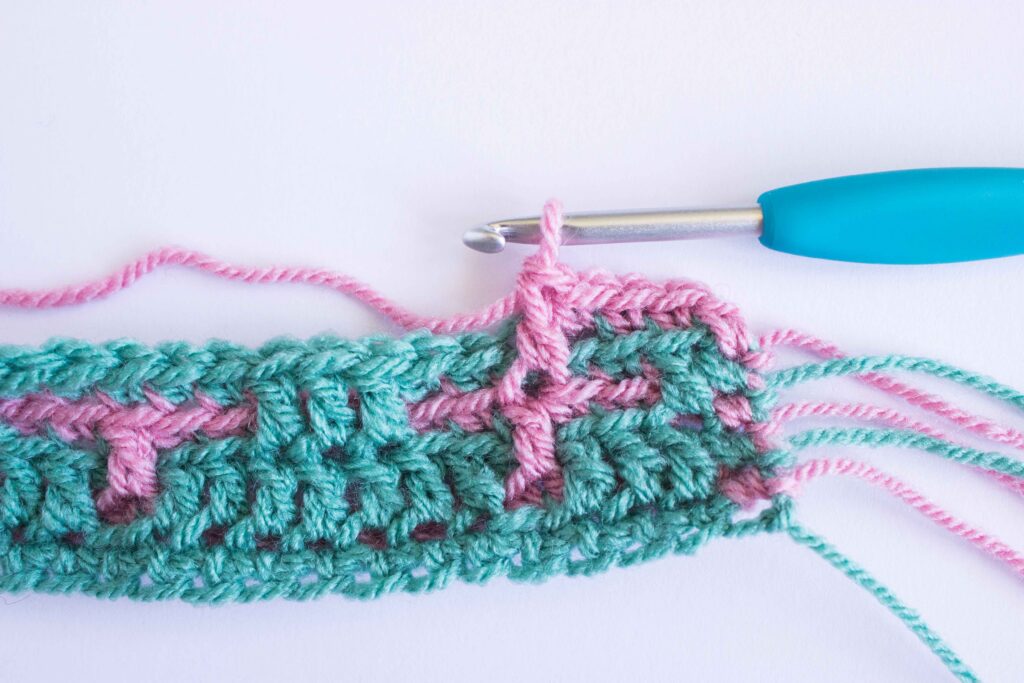
Row 3: This is where it’s time to start reading the chart. You will read each row from right to left. Each box represents a stitch, all tr stitches are marked with an X and all dc stitches are left blank. The first and last stitches in each row are always the edge stitches and are marked with an ‘e’.
Chart:
For row 3 and all other rows in the pattern, all dc stitches are worked into the back loops of the previous row (so for row 3, this is row 2), and all tr or X stitches are worked into the front loops of the previous row of the same colour (so for row 3, this is row 1).
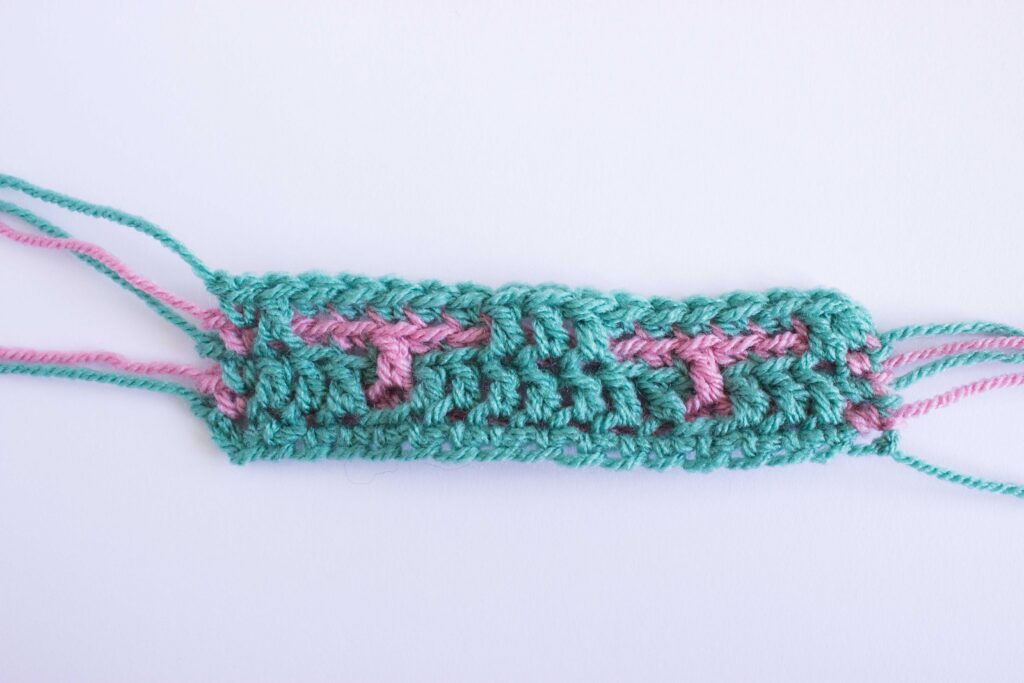
Row 3 is worked in yarn A.
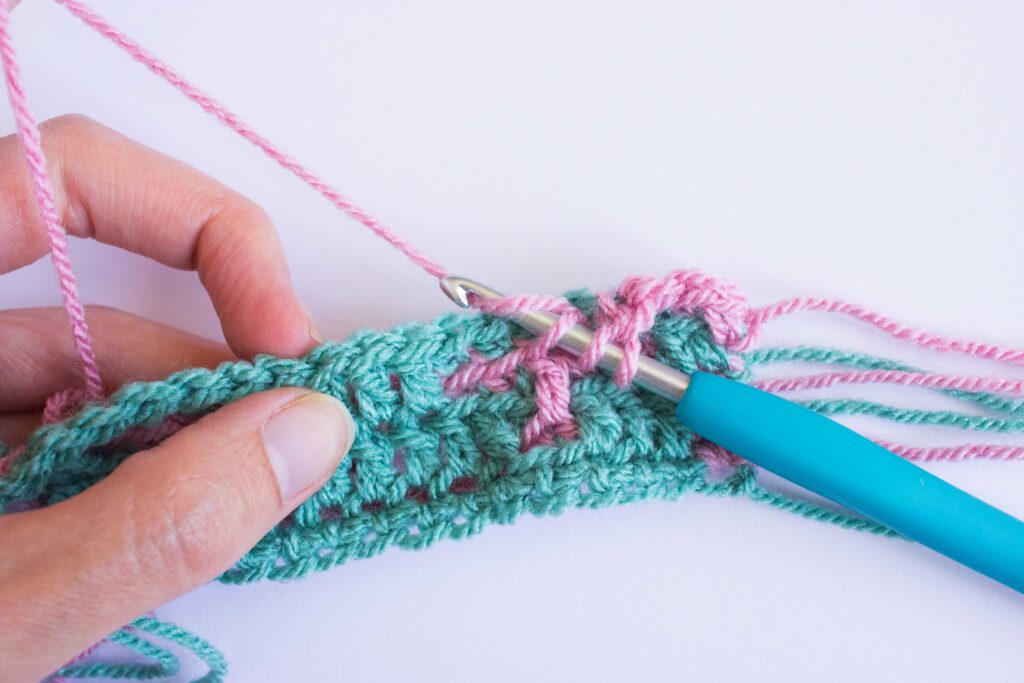
So reading the chart for row 3 from the right, you will work an edge stitch, then 3 tr stitches into the front loop of row 1, then 1 dc into the back loop of row 2, then 7 tr stitches into the front loop of row 1, then 1 dc into the back loop of row 2, then 3 tr stitches into the front loop of row 1, then an end edge stitch. (17 sts).
Row 4. Uses yarn B. Reading the chart for row 4 from the right, you will work an edge stitch then 3 dc into the back loop of row 3, then 1 tr into the front loop of row 2, then 7 dc into the back loop of row 3, then, 1 tr into the front loop of row 2, then 3 dc into the back loop of row 3, then an end edge stitch. (17 sts).
Continue following the chart, alternating colours as shown for each row. The final row is worked the same as any other row and finished with an end edge stitch.
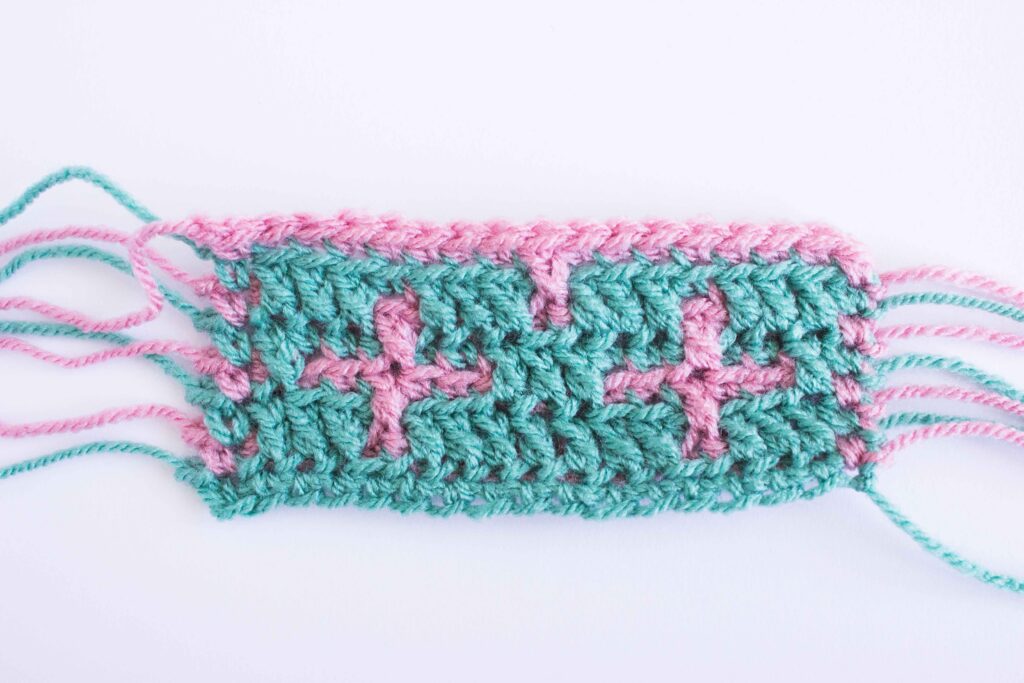
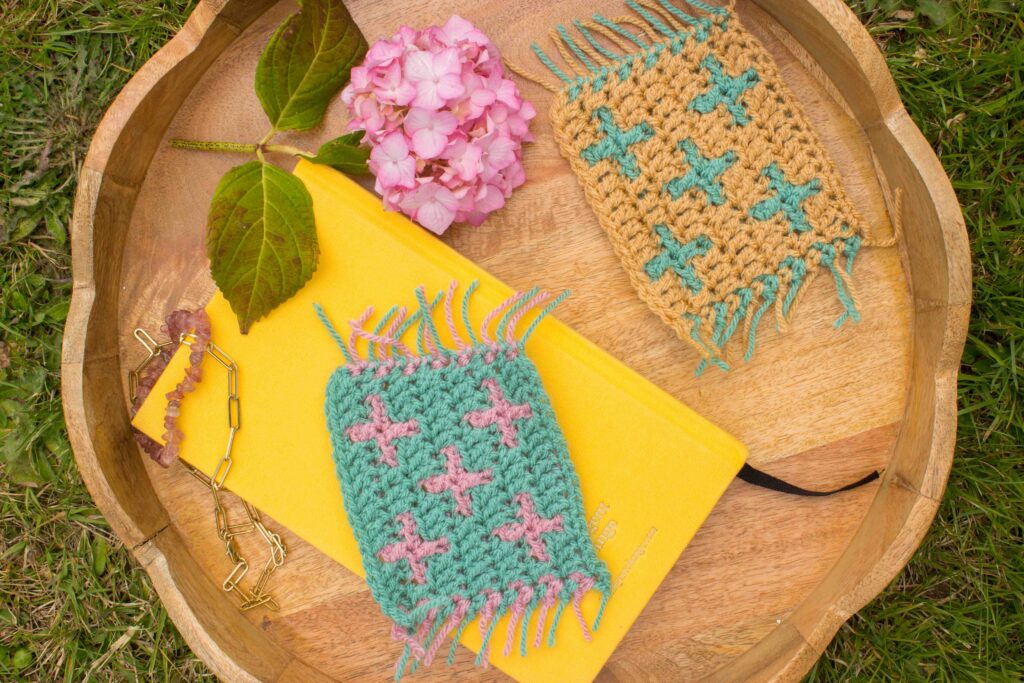
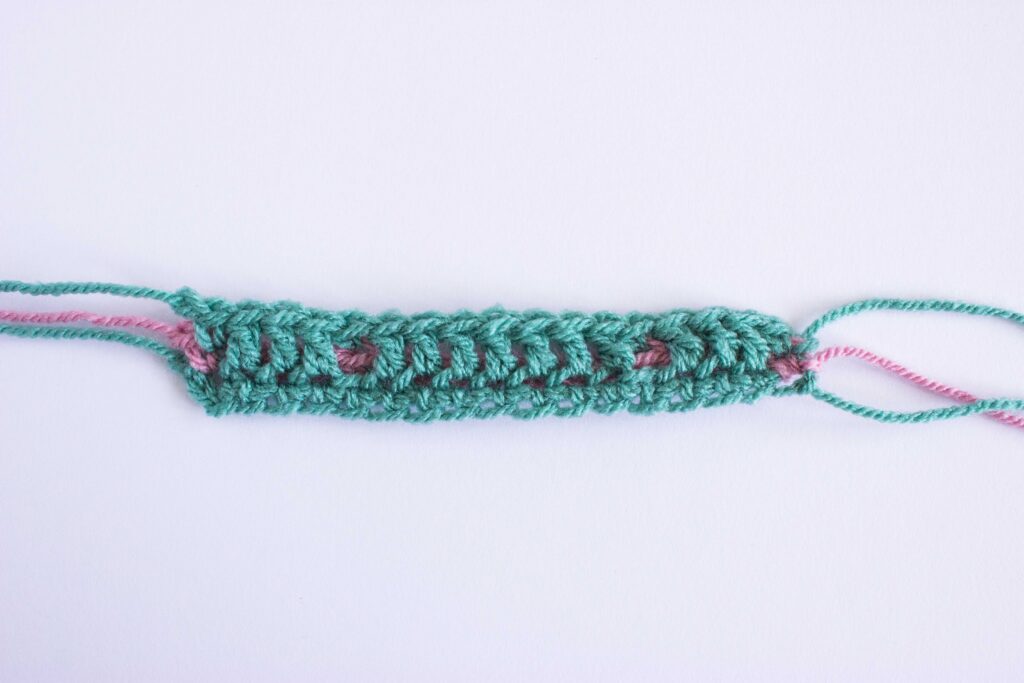
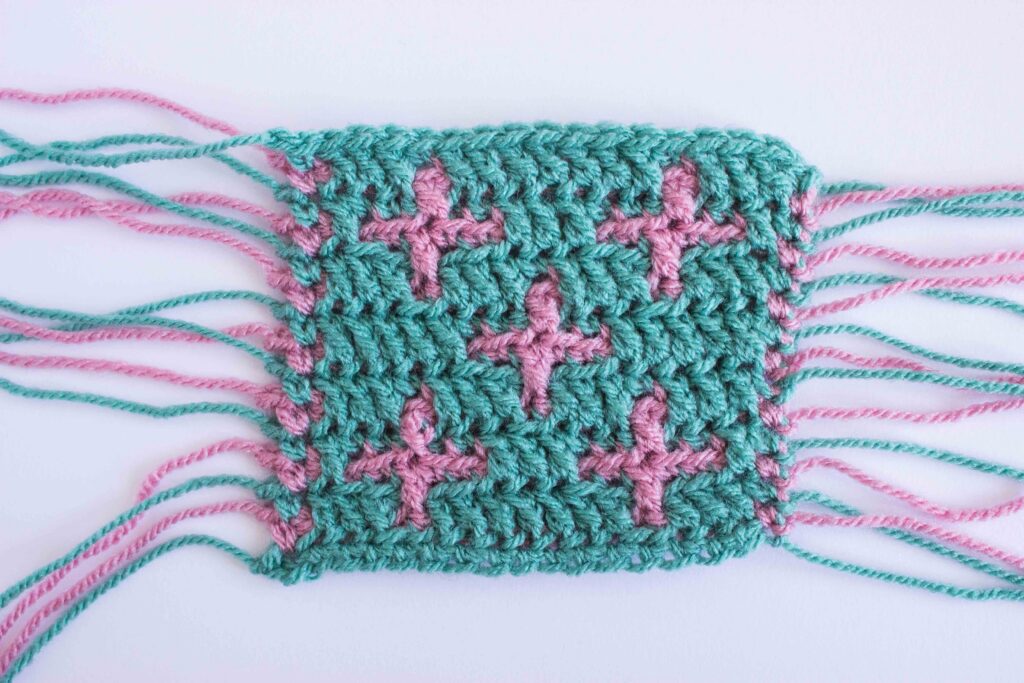
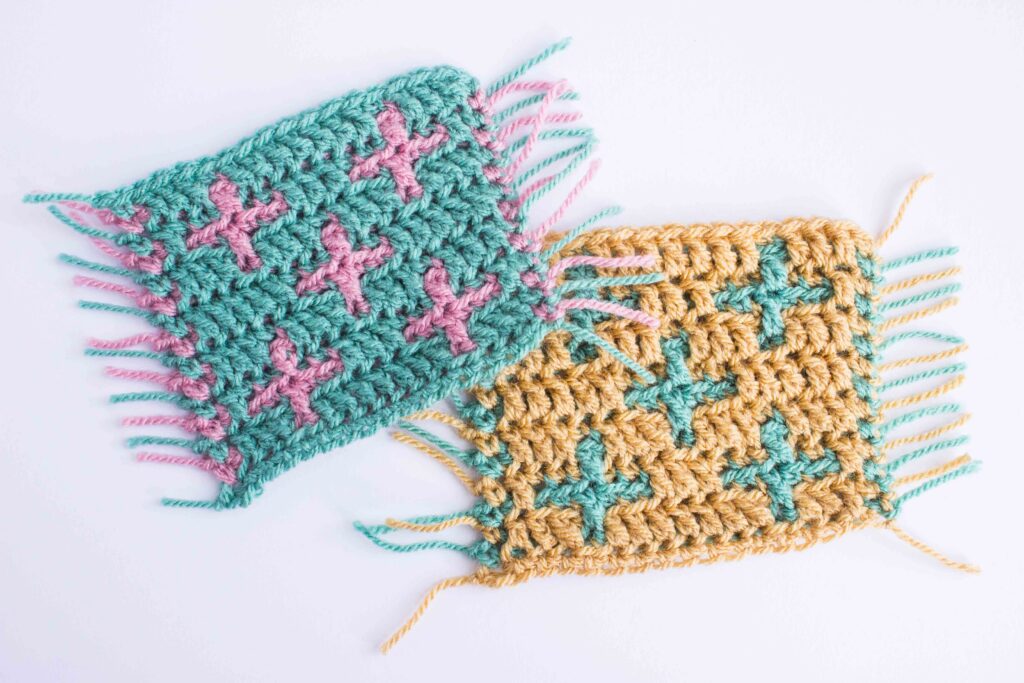
Once you’re finished your final coaster should look like this! I enjoyed making a couple in different colours. See below for options to deal with your ends.
How to deal with ends on your overlay mosaic crochet
How you deal with the ends in overlay mosaic crochet often depends on the project. For this free coaster pattern, I’ve just cut them to the same length each side to create a fringe effect. You can also weave the ends in on the back of your work, as you would any other crochet project. For large projects like blankets when you might have hundreds of ends you can also use a special border which envelopes the ends inside. I’ll link a tutorial for this here once I’ve created it, but there are also plenty online.
Optional back tuck for your treble crochet stitches
I’ve no idea what to call this so I’ve gone with a random gymnastics reference (I have zero connection to gymnastics, but here we are). As you get used to overlay mosaic crochet, you’ll see on the back of your work as you do the tr stitches, you’re effectively skipping the dc stitches from the previous row and working below them, so on the back of your work you’ll see these little pockets forming:

In some cases it’s nice not to have the pockets so you can do an extra step on your tr stitches to attach them to the skipped dc which removes the pocket. This does make the work a little stiffer (it’s marginal, but noticeable) so it is great for things like these coasters, or cushions, but I’d generally avoid it for things like scarves when you want as much drape as you can get from the crochet.
For the extra tr back tuck:
Work the first part of your tr stitch as normal, and insert your hook into the front loop of the previous row of the same colour. Wrap yarn around the hook and pull through as normal:
Instead of finishing the tr, insert your hook into the back loop of the skipped dc behind where you are working:
Wrap yarn over and pull through two loops on hook (as you would a standard tr).
Wrap yarn over and pull through the last two loops on your hook (as you would a standard tr).

Continue working your pattern as simply using the tr back tuck for any tr stitches.
I hope you find this tutorial useful – I’d love to know what you think of overlay mosaic crochet and how you find it. Comment below or find me on Instagram or YouTube.